Roof Vent Boot Repair Services Overview
Visitors will learn about roof vent boot repair services offered by local contractors and how to compare and connect with these service providers.
- - Residential homeowners seeking reliable roof vent boot repair services from local contractors.
- - Property managers responsible for maintaining commercial buildings with venting systems needing inspection or repair.
- - Home improvement enthusiasts looking to connect with nearby specialists for roof vent boot replacement or restoration.
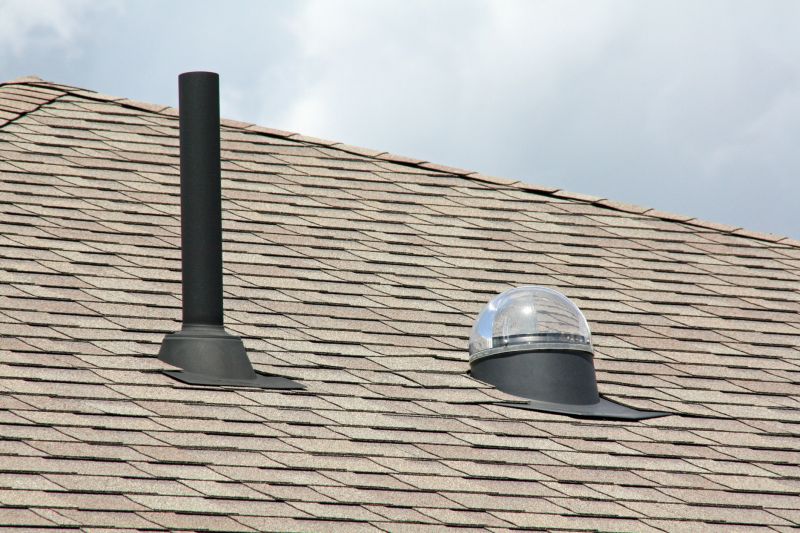

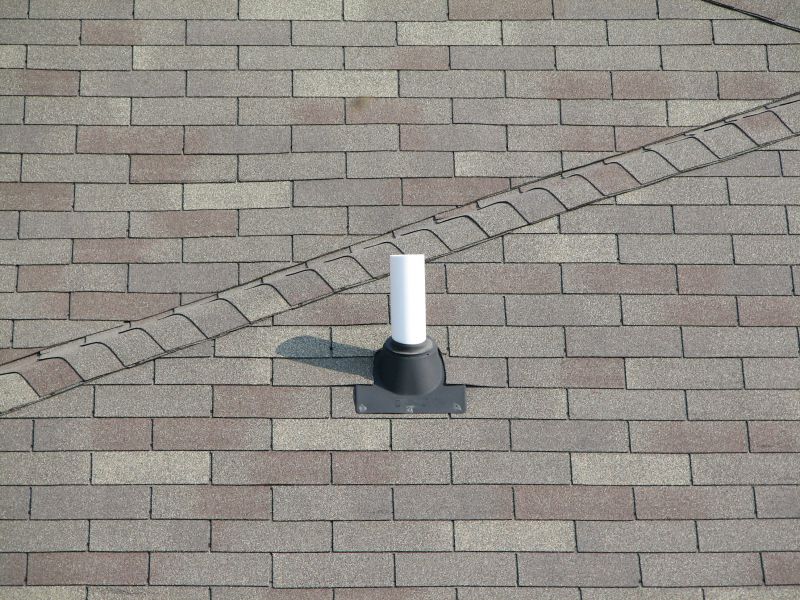
Roof vent boot repair services are essential for maintaining the integrity and performance of a building’s roofing system. Over time, vent boots-these are the rubber or flashing components that seal around roof vents-can become cracked, damaged, or deteriorated due to exposure to the elements. When this occurs, it can lead to leaks, water intrusion, and potential damage to the underlying roof structure. Property owners often seek out local contractors who specialize in diagnosing and repairing these issues to ensure their roof remains weather-tight and functions properly.
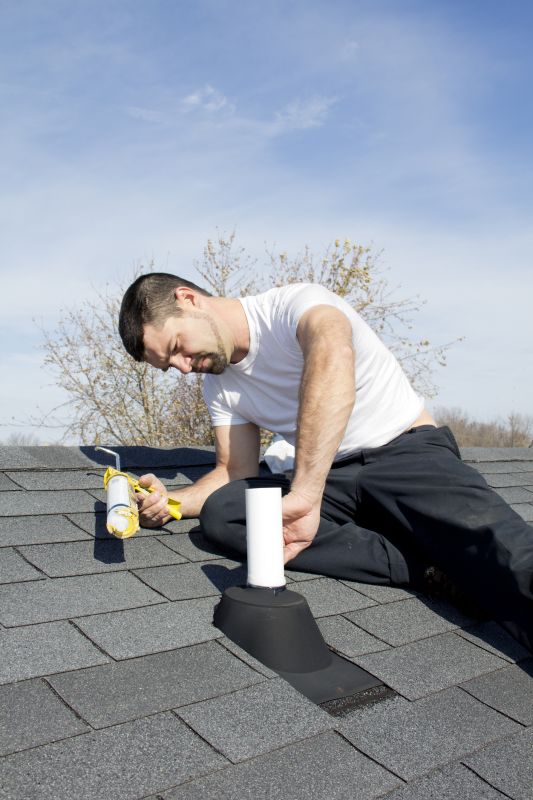
Local service providers who handle roof vent boot repairs typically assess the condition of existing boots, identify signs of wear or damage, and perform repairs or replacements as needed. They may work on a variety of roof types and vent configurations, providing solutions tailored to each property’s specific needs. Connecting with experienced local pros can help homeowners and business owners address vent boot issues promptly, preventing further damage and extending the lifespan of their roofing system.
This guide helps homeowners understand the key factors involved in roof vent boot repair, so they can make informed decisions. It provides tips for comparing local contractors and understanding the scope of work needed for their project. The information aims to assist in preparing for discussions with trusted local service providers.